For non-profit or anybody else
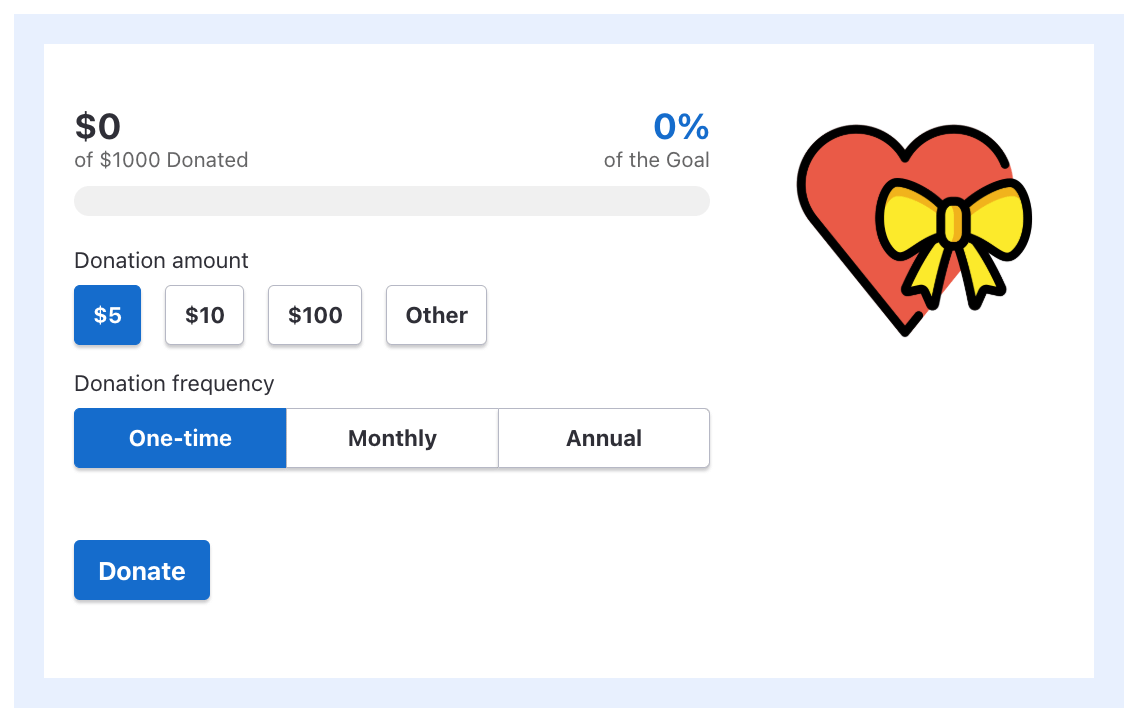
How would you wish to have a donation kind just like the one under in your web site? Fairly neat, huh?
On this publish, I will present you not solely learn how to create a kind identical to that, but additionally learn how to arrange the backend – learn how to acquire donations and have them deposited to an account of your selecting.
We’ll do that with two Free-to-sign-up Instruments: Stripe (The Mind of the Operation) and WP Full Pay (the plugin that handles the wordpress integration). And, after all, your web site must be working on wordpress, however i assume you could have that half dealt with already.
Why use stripe for donations?
The beauty of stripe is that it handles the heavy lifting on the subject of processing all of the funds and in addition permitting cash to return from all totally different instructions and utilizing all totally different types of fee.
For Starters, Stripe Handles Credit score Playing cards, Debit Playing cards, Apple Pay, Google Pay, and even Financial institution Transfers in Some Instances. Which means your donors haven’t got to leap by means of hoops or join additional accounts simply to ship you cash. Fewer Steps Imply extra full donations.
Safety is one other huge purpose to Select stripe. It is constructed to deal with on-line funds safly, with fraud safety and encryption baked in. You do not have to retailer Delicate Fee Particulars in your website, which lowers your threat and retains issues compliant with native legal guidelines and business requirements.
Out of your standpoint, stripe first processes the donations after which deposits them into your checking account on a rolling base.
Lastly, stripe is versatile. Whether or not you need to arrange one-time donations, recurring contributions, and even customized donation quantities, it is all potential.
With all that being stated, there’s one factor to pay attention to, and that issues are stripe charges. In Brief, Stripe Costs Round 2.9% + $ 0.30 per every transaction/donation dealt with. That is principally your value of gaining access to stripes and all its options at no cost.
Step 1: Enroll with stripe
The Stripe Setup is surprisingly Simple In comparison with among the different superior options of this kind in the marketplace.
It is principally this:
- Go to the stripe web site – head over to stripe.com, enter your electronic mail tackle in the primary field and click on Begin now.
- Create your account – enter your electronic mail once more, identify, and a safe password. Relying in your location, stripe may asking for extra particulars. Stripe is a worldwide firm, so they’re required to stick to the native legal guidelines and laws of every nation they’re in.
- Set Up Your Group Profile – Stripe will ask for Numerous Particulars Like Your Group Title, Kind, Web site, Plus Some Extra Particulars Relying on the Nation The place Your Group relies.
- Full Your Profile and Confirm – Once more, There Would possibly Be Extra Steps required so that you can undergo within the stripe dashboard relying in your group kind and nation. The setup information will take you thru.
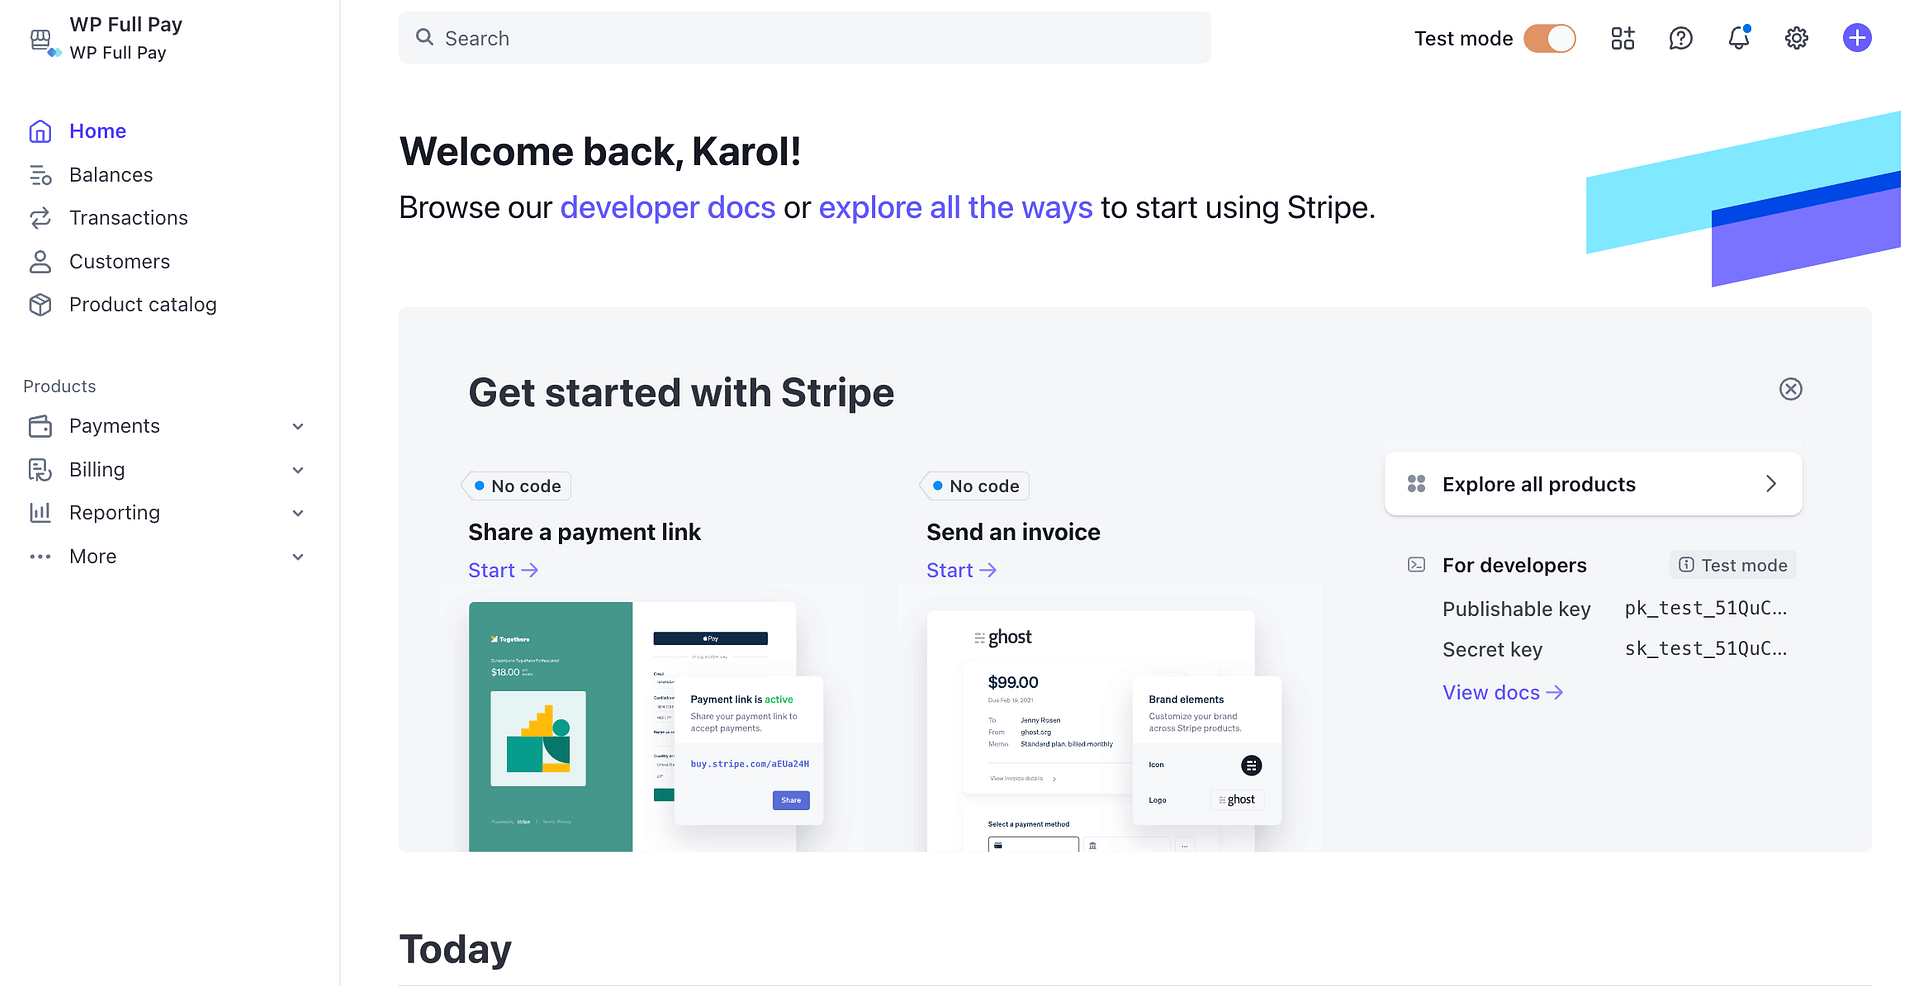
As soon as your account is prepared, you will get entry to your stripe dashboard. I encourage you to go searching, see all of the distinction settings and options out there there – simply to get extra acquainted with how issues work.
In fact, additionally, you will want to supply particulars like your financial institution accounts, tax scenario and so forth – if in case you have did not accomplish that already in the course of the setup.
⚖️ Disclaimer
The WP Full Pay Plugin is being maintained by the identical workforce that is behind themeisle.
Step 2: Set up Wp Full Pay
Wp full pay is the plugin that we will use to combine stripe together with your wordpress web site. The plugin is free to put in.
To get it working in your website, log in to your wordpress dashboard, go into Plugins → add new and enter “wp full pay” into the field. You may see the plugin on the checklist:

Click on on Set up now after which Activate.
While you try this, you will be taken to the onboarding wizard:
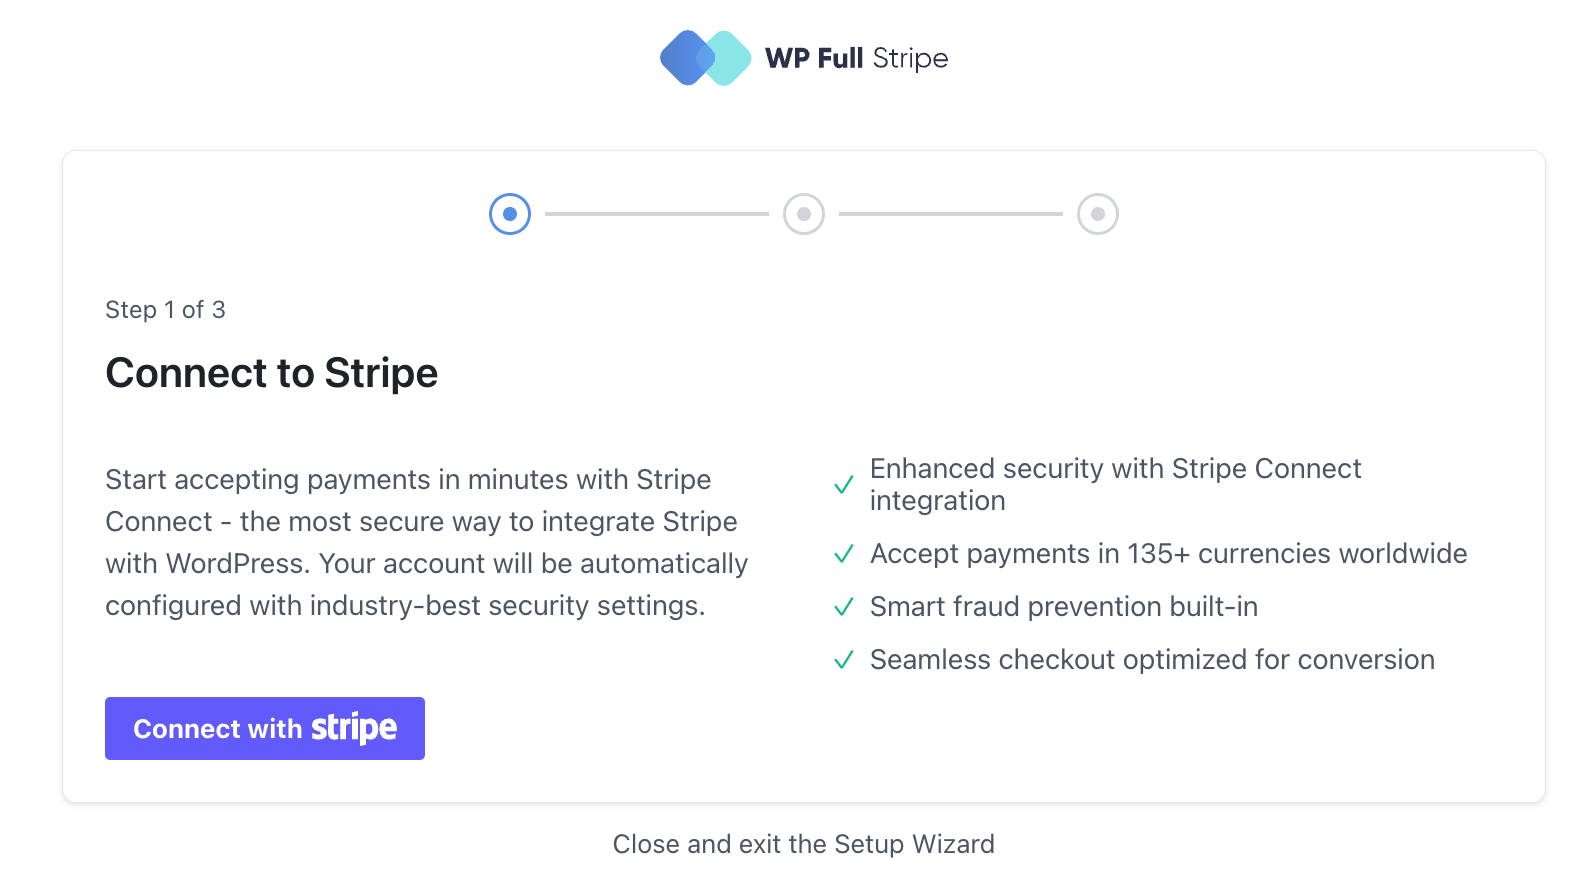
Click on on the Join with stripe button to get the mixing began. There Would possibly Be Some Extra Authentication Steps for you there relying on how far you bought into your stripe account creation and verification.
In case your stripe account has been absolutely set, it is possible for you to to select it from the checklist:
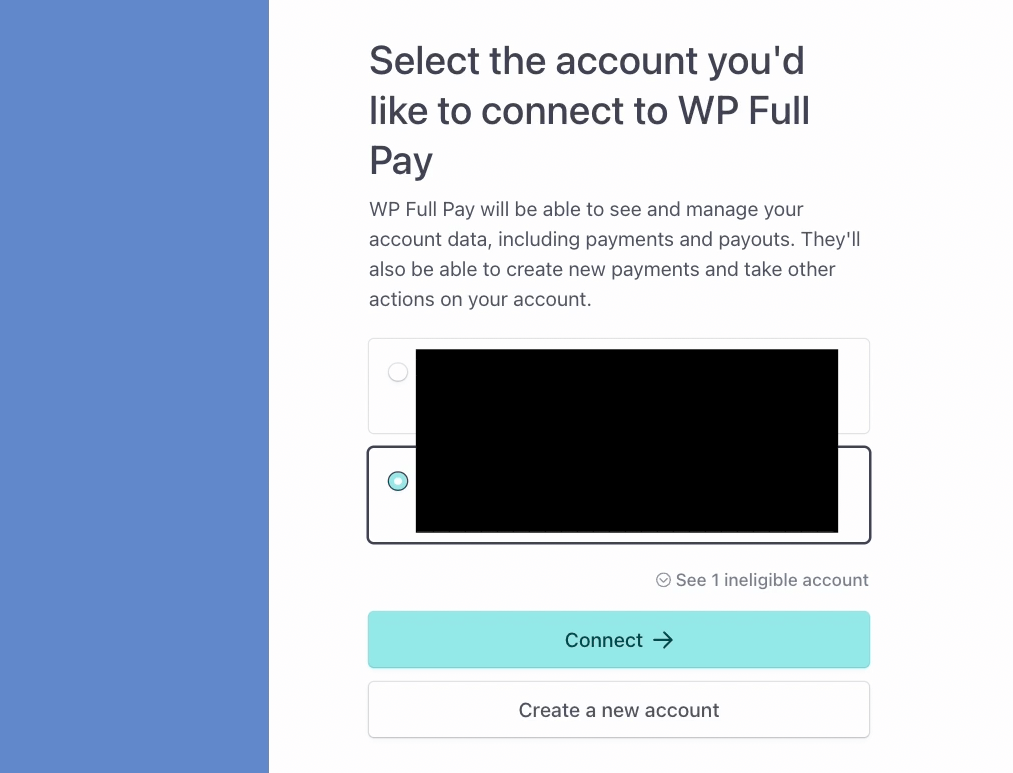
Click on on the Join Button to Proceed.
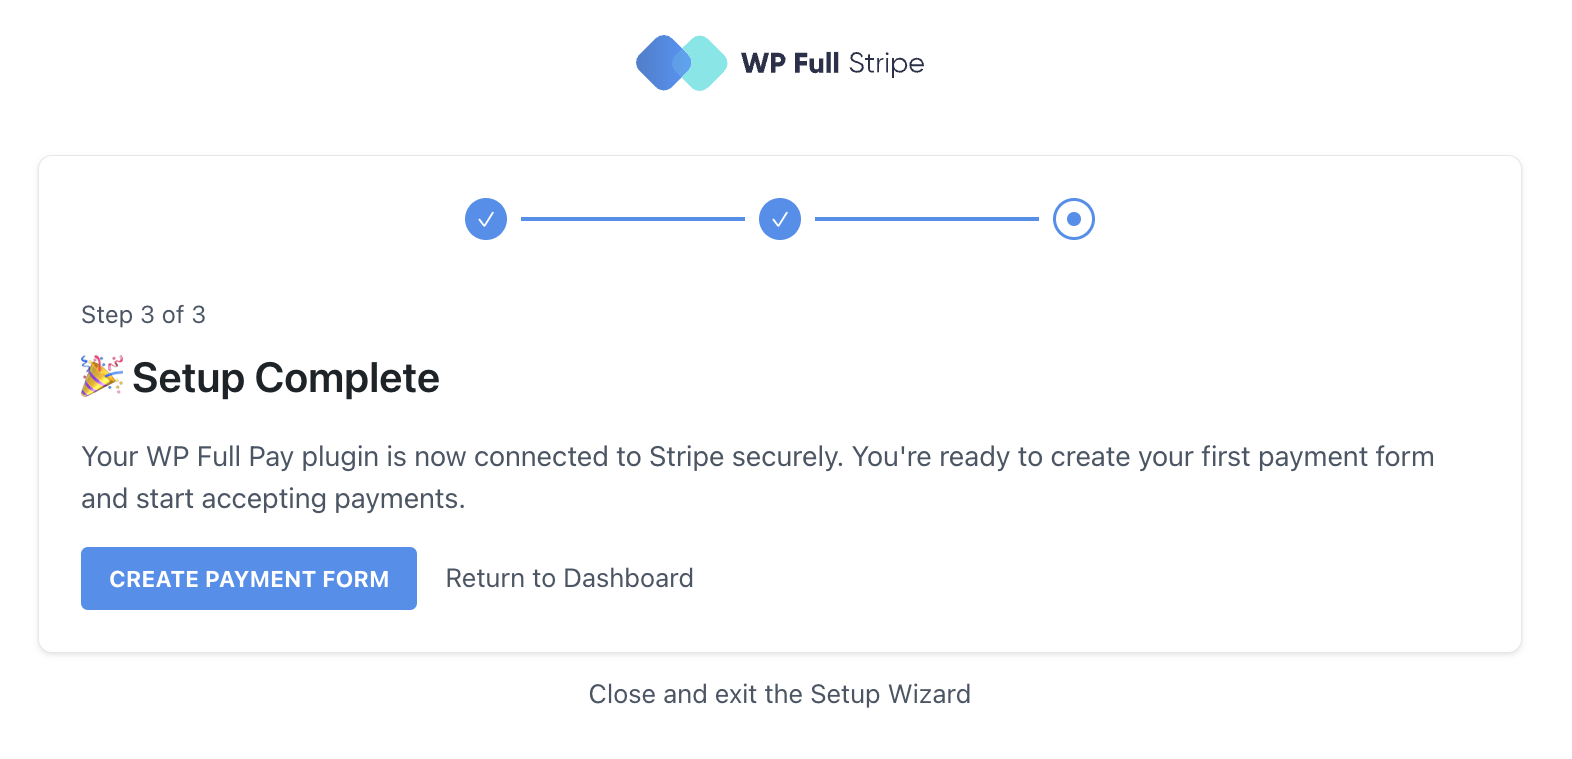
When the connection is made, you will be taken again to the wp full pay interface:
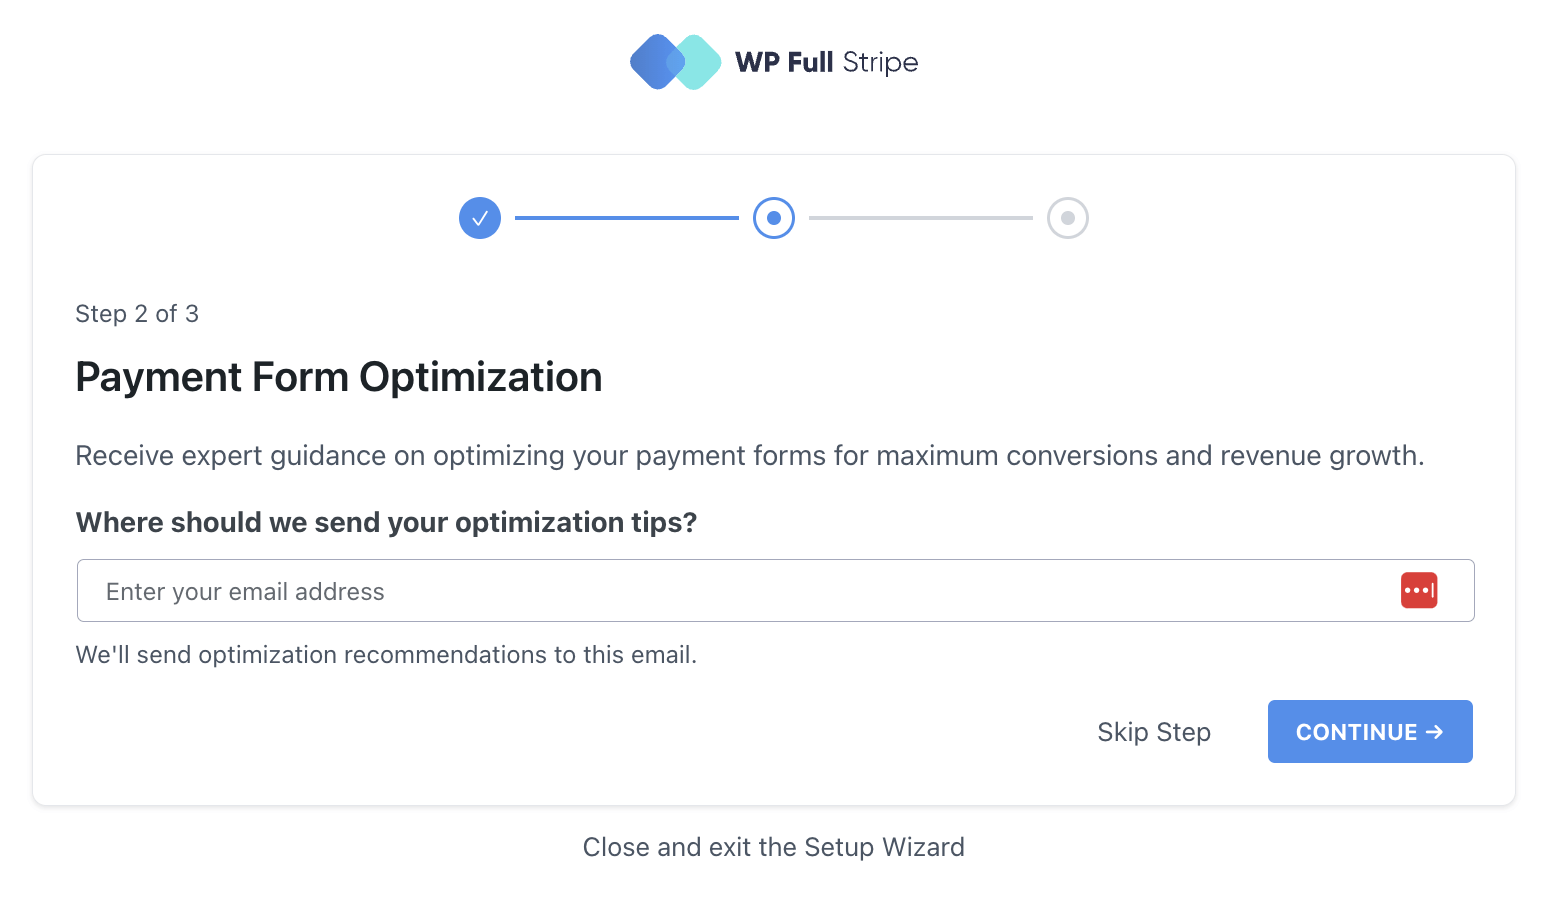
Right here you could have an choice to subscribe for fee ideas through electronic mail.
And with that, the core of the mixing is completed!
Step 3: Create your first donations kind
At this level, your Stripe Account has been linked together with your wordpress website and now you can begin creating all types of funds varieties with wp full pay – Together with donations varieties. So let’s try this now!
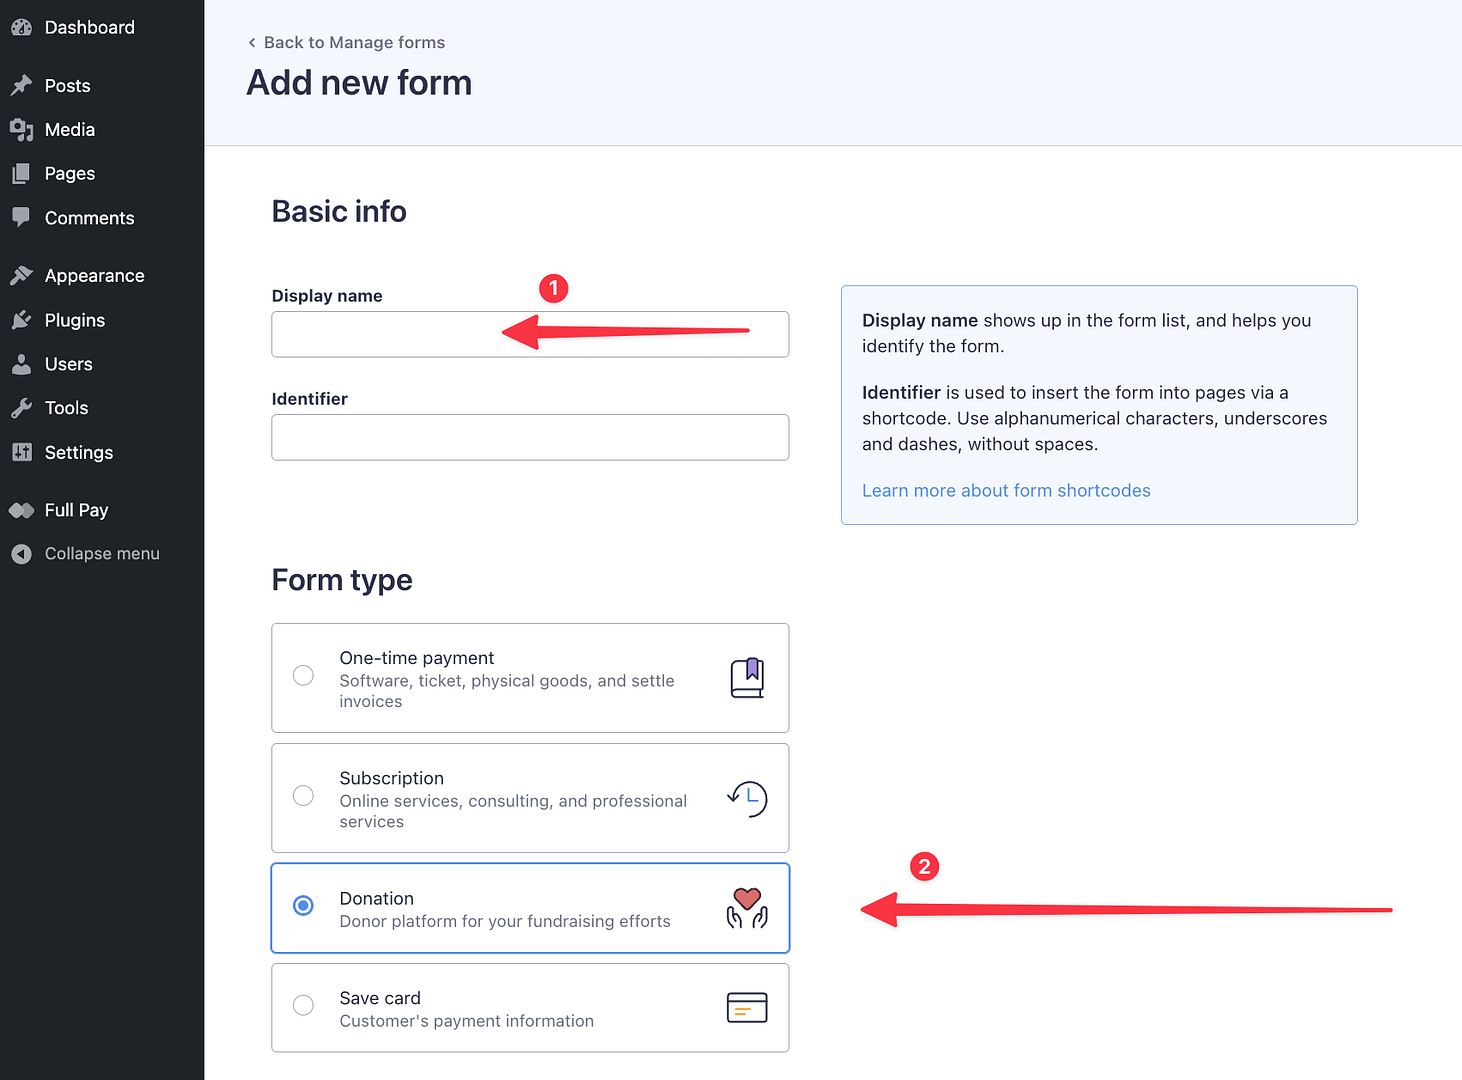
To start, go to Full Pay → Fee Varieties. Click on on Add Kind:

From there, set a reputation in your kind – the identify it itself shouldn’t be necessary because it is not going to present anyplace in your website – it is simply data for you. Additionally, and that is necessary, decide Donation as the kind of kind:
Subsequent, decide in order for you your kind to be a Checkout Kind or Inline:

- The principle distinction between the 2 is that the checkout kind will ship the guests over to stripe.com to finish the donation – enter their bank card data and so forth.
- The inline kind will show all of the fee data in your website – that means that the individual will not has to go away your website to get all the things.
If you wish to be taught extra in regards to the variations, here is a web page within the docs.
For my part, selecting Checkout is an easier method that can be potential extra reassuring for the individual making the donation. It is simply that not everybody mighting be keen to enter their bank card on a random website, however can be slightly do it at stripe.
So, most often, choose Checkout after which click on on Create & Edit Kind.
You may be taken to a brand new settings display screen:
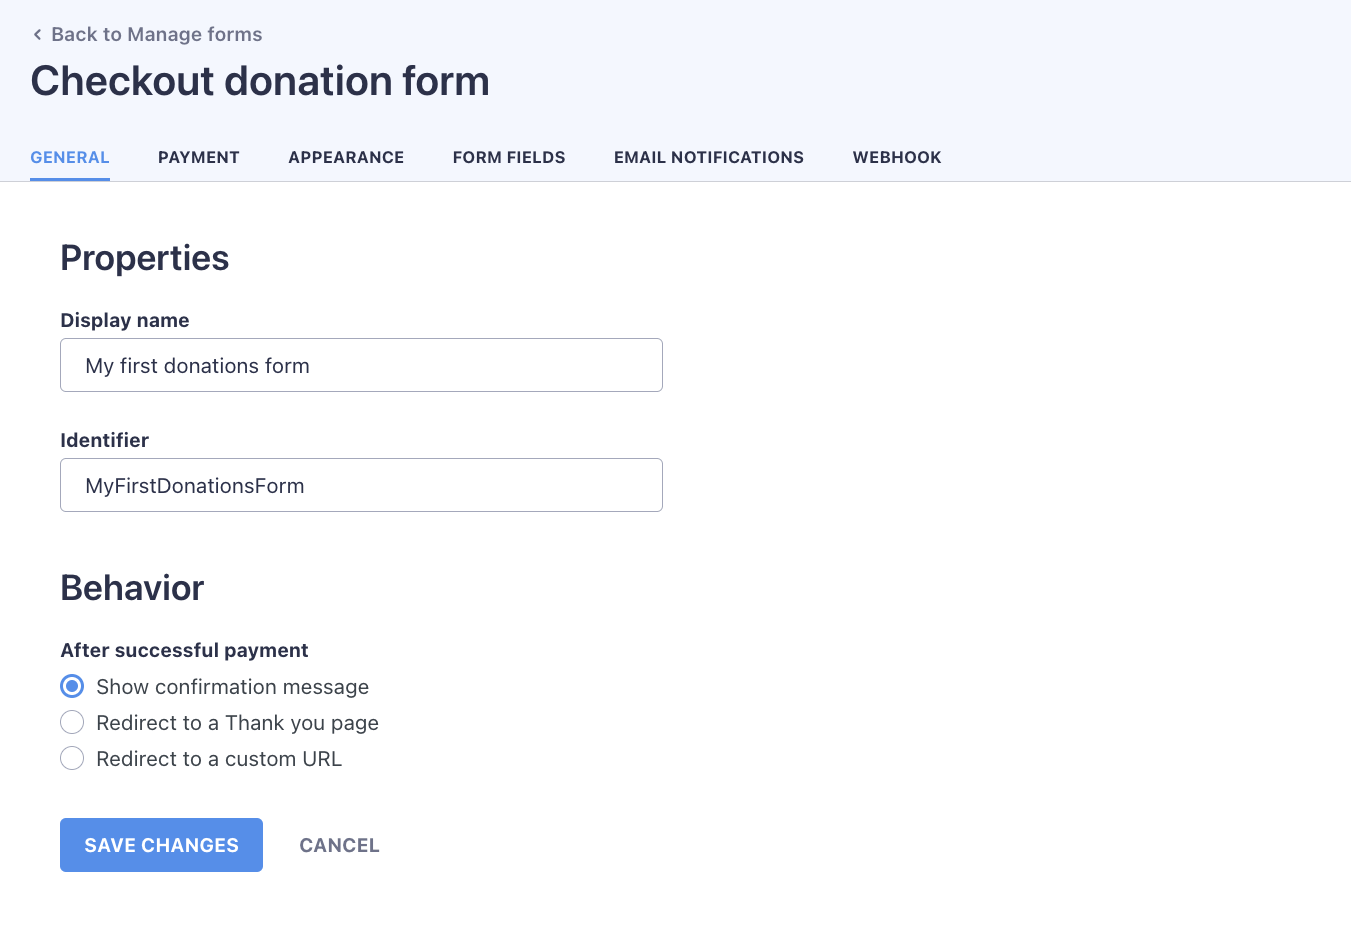
The primary tab of the settings – Normal – Permits you to tweak the identify of your kind plus, extra importantly, resolve what you need to have occurred after a profitable fee. Going with the default “Present Affirmation Message” is nice for starters.
You possibly can swap to the following tab – Fee:
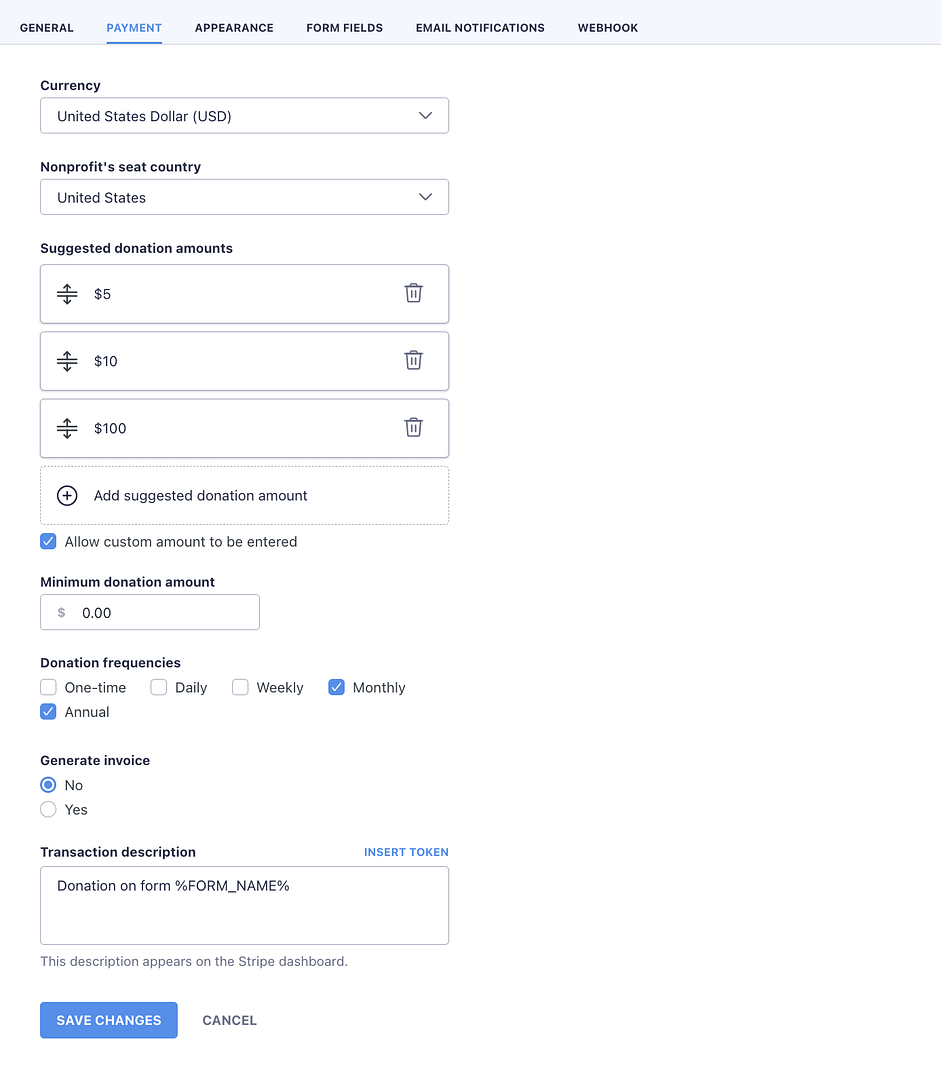
This one is the place issues are beginning to get curiosity!
First off, it’s best to set the forex and your group’s nation within the first two fields.
Then, you get to set the urged donation quantities. Wp full pay will embrace some pre-defined values there, however you may delete any of them utilizing the trash can icon, and in addition add new ones by clicking on Add Instructed Donation Quantity.
You can too let individuals enter their very own donation quantities, plus the minimal set of donation quantity accepted. There is no good or unhealthy option to deal with these settings. All of it will depend on the kind of group you are working and the donations you are asking for.
Subsequent, and that is the actual purposeful half (!), You can too set the Donation needs to be a One-off one, or do you need to make it a recurring donation. This can be a game-Changer setting when you’re a nonprofit seeking to make your supporters’ lives simpler.

Subsequent, whether or not you need to (or are required to) generate an bill for the donation relies upon, once more, in your authorized scenario.
If all the main points on the web page are wanting good, you may swap to the Look Tab. This is the primary part of it:
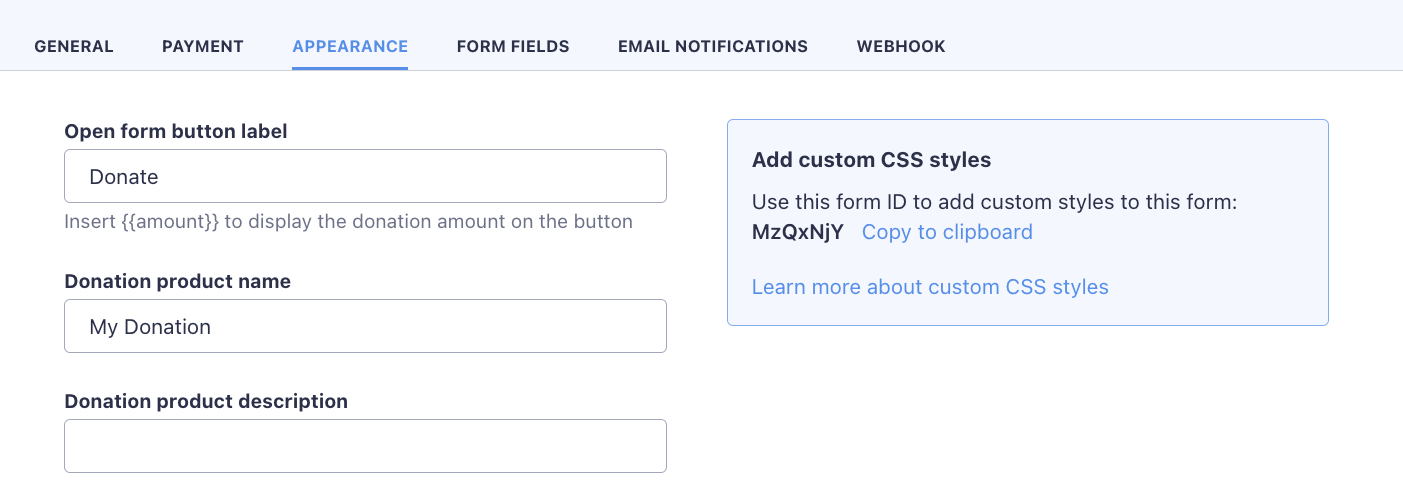
This one’s fairly fundamental; You possibly can set the label of the donation button plus additionally change the identify and outline of the donation “Product” – you may ignore these particulars.
Subsequent, we now have a few curiosity in settings:
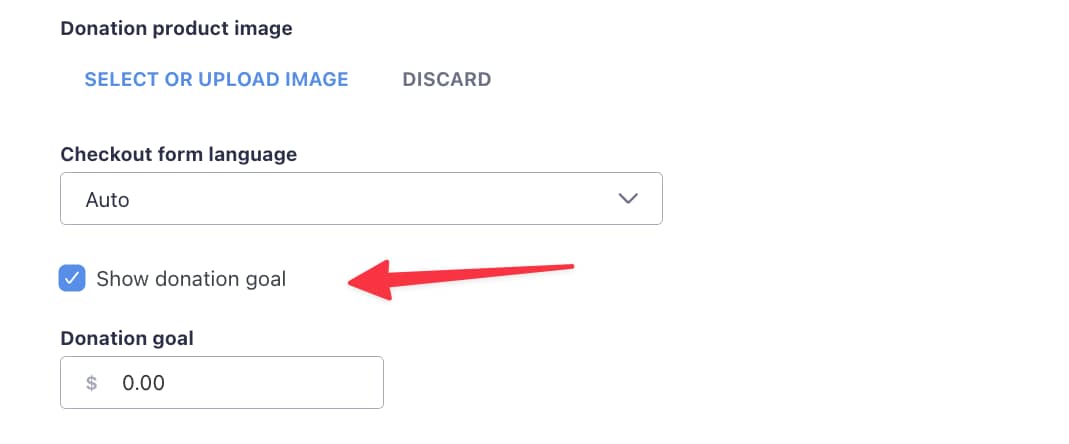
Donation Product Picture Offers you a pleasant alternative so as to add some pleasant photograph or badge to your donation kind.
Then the field calling Present Donation Objective is the place you may set a objectives quantity to be displayed in your kind. This settings is optionally available, so you do not have to make use of it, however when you do, it can add a pleasant visible illustration to how far you might be towarding your securing objectives.
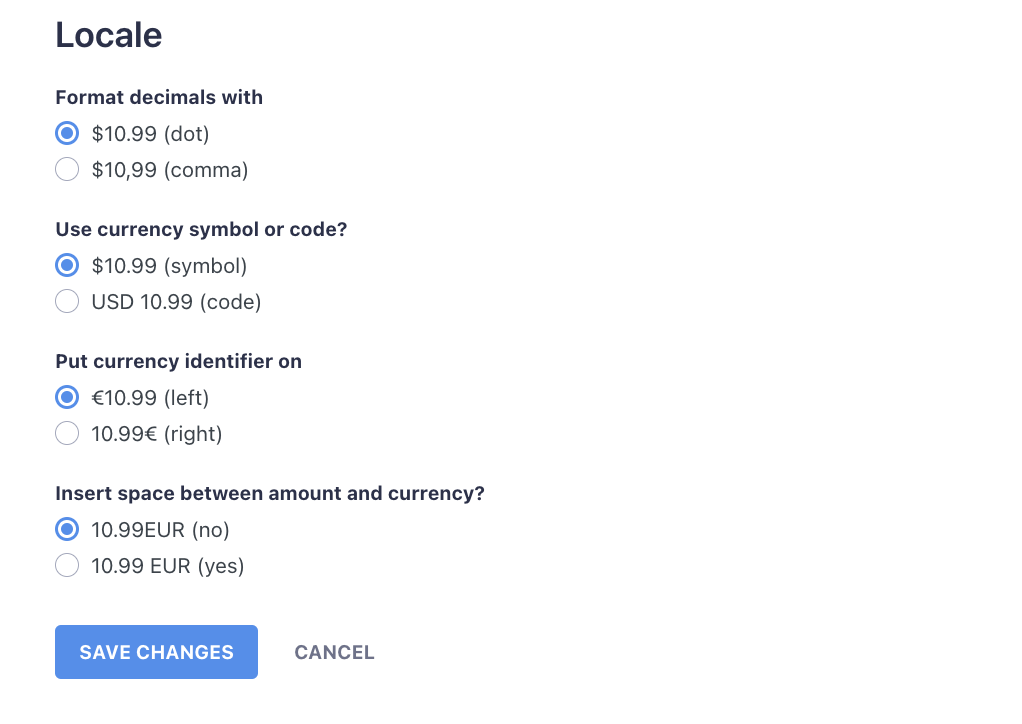
Lastly, you may set your forex show locale.
Once more, if all seems nicely, you may swap to the Kind Fields Tab:
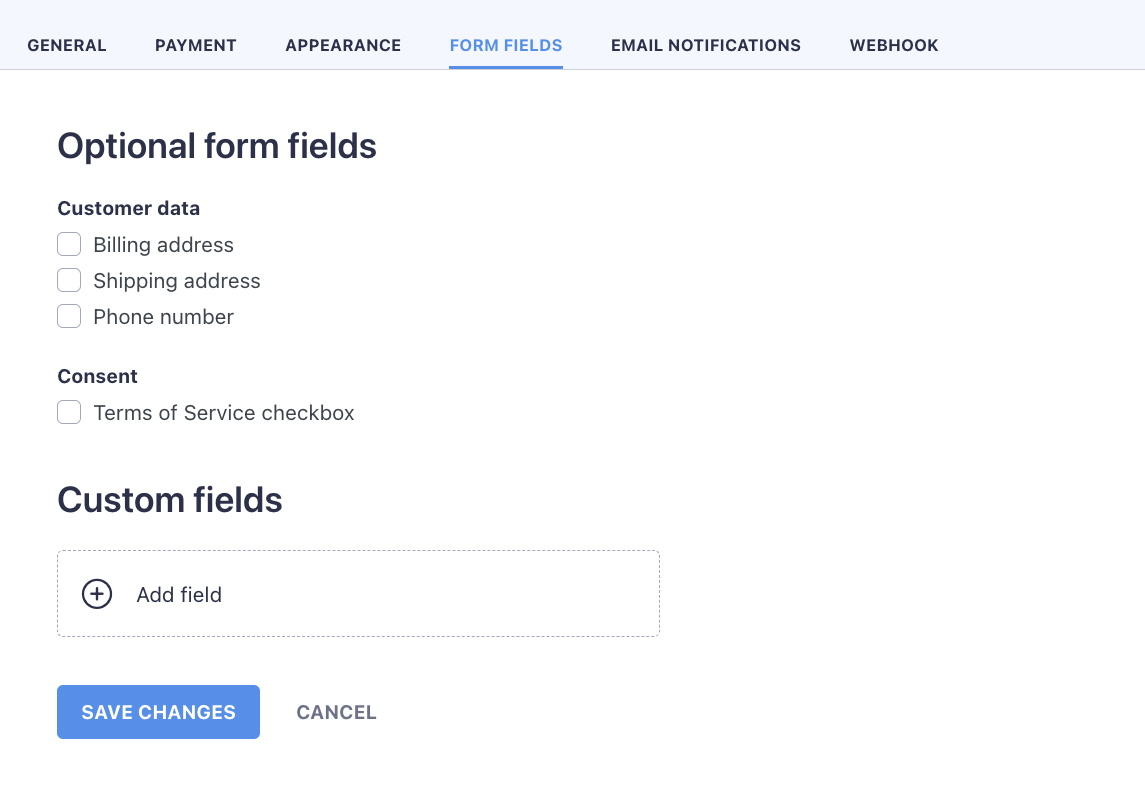
If required, you may set the extra kind fields to seem along with the donation button. If the offered pre-defined set of fields shouldn’t be sufficient, you may also set fully customized fields utilizing the Add Subject Button.
We’re Almost Completed!
The E-mail notifications tab is the place you may allow receipts to be despatched to anybody who makes a donation.
- The primary choice is to have wp full pay ship the e-mail
- The second choice is to have stripe
The Selection is as much as you, although in all probability a extra reliable resolution is to have stripe ship the notifications.
At this stage, you may click on the Save Modifications Button on the backside!
(Whereas there’s a remaining tab referred to as Webhookwe’re not going to get intoo that one since it’s for extra superior setups, generally requiring customized improvement.
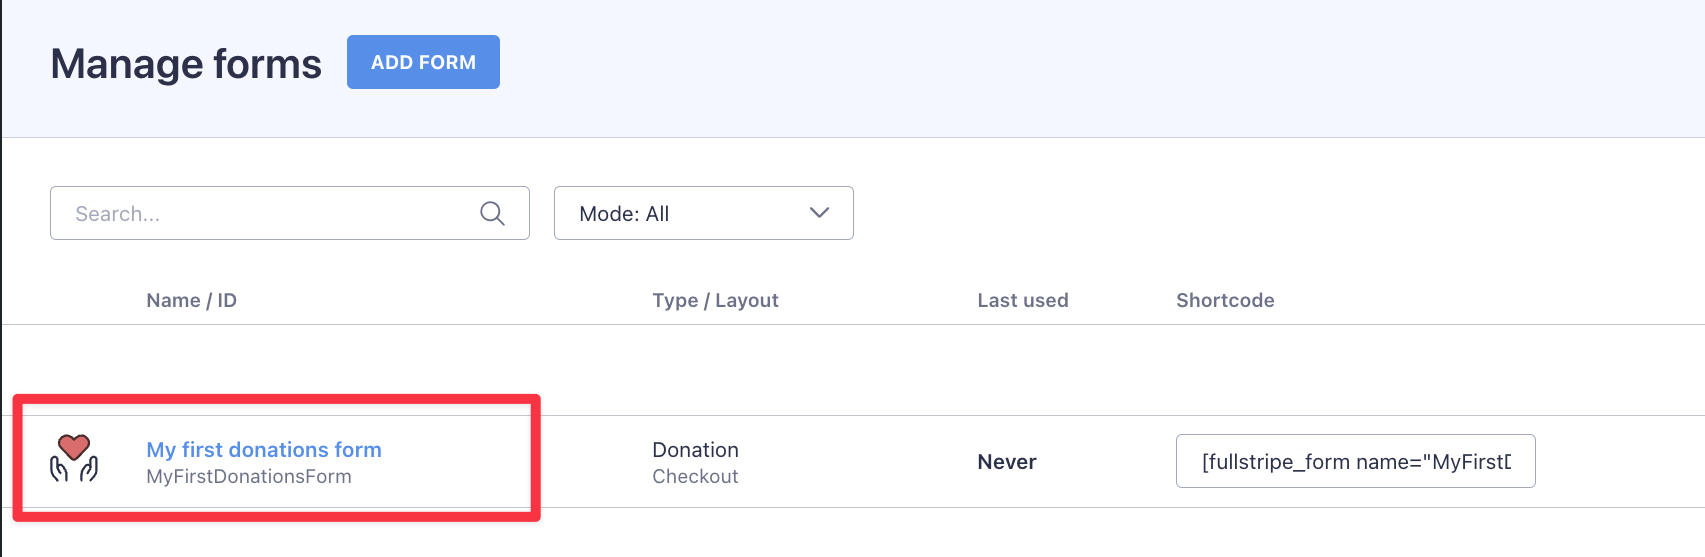
You’ve got simply created your first donations kind, Congrats! You must see it on the checklist:
Step 4: Add your donation kind to any web page or publish
The beauty of this fashion of dealing with your donation varieties is which you could now put that kind in any one in all your posts or pages.
For Examples, you may ask for donations in the course of weblog posts, or in particular pages for particular fundraising campaigns. It is principally all as much as you.
To start out, simply decide any posts or web page you would like and begin enhancing it usually, or create a brand new web page by going to going to Pages → Add New.
As soon as there, you may add your donation kind utilizing the block editor, like so:
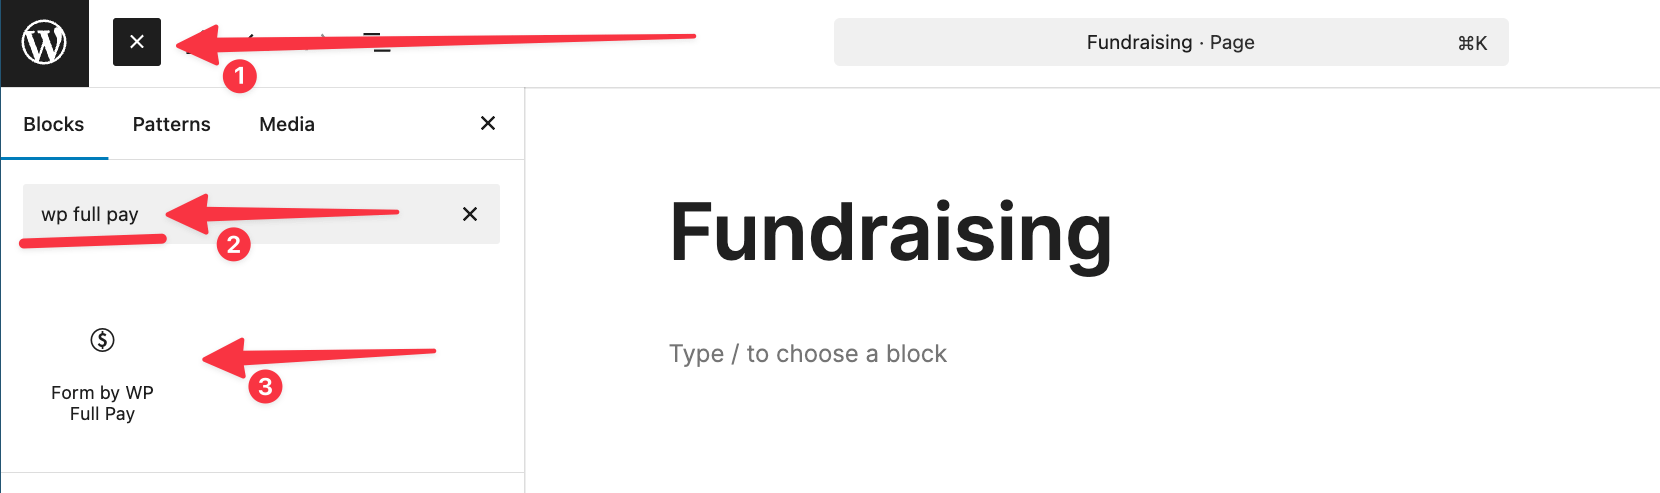
- Click on on the plus icon within the prime left nook
- Within the search area, enter “wp full pay”
- Click on on the for block so as to add it to your web page
Now simply decide your donation kind from the dropdown. This can be straightforward if in case you have just one kind created to this point:
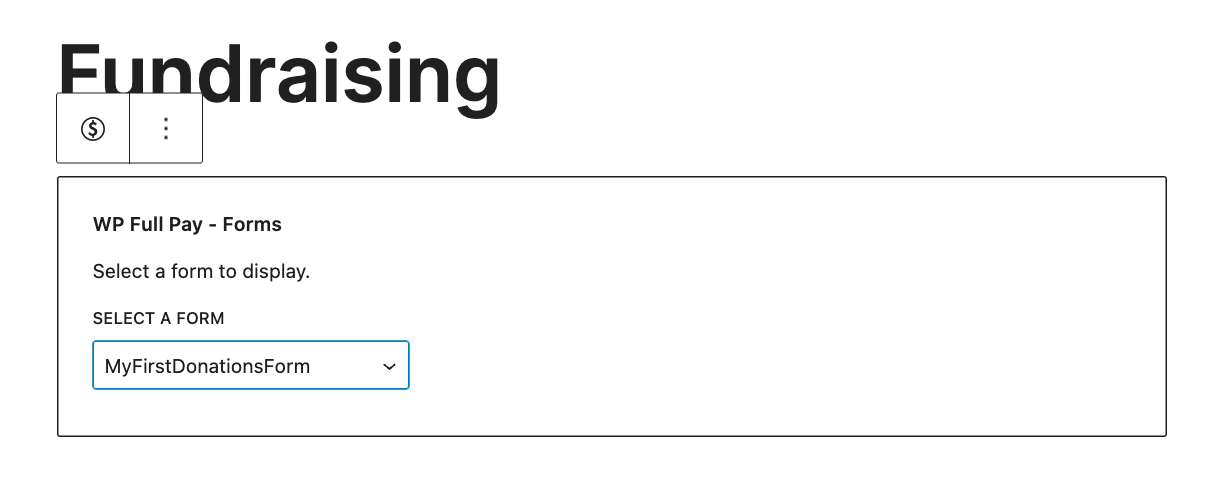
Save the web page and publish it.
And … that’s it.
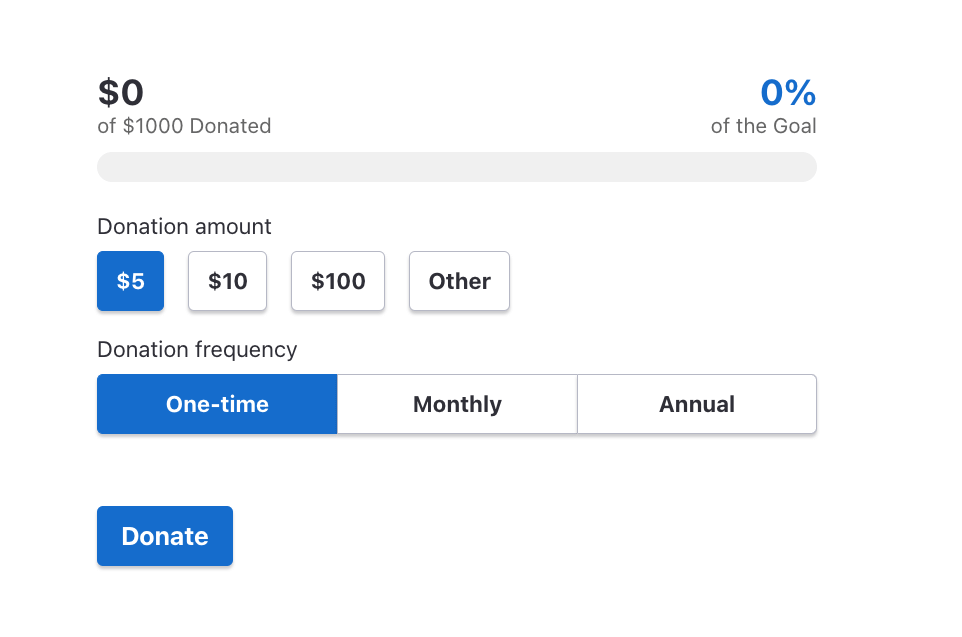
At this level, your donation kind is reside, and anybody who fills it out and goes by means of with the step could have profitable donated cash to your trigger!
The shape Would possibly Look One thing Like This:
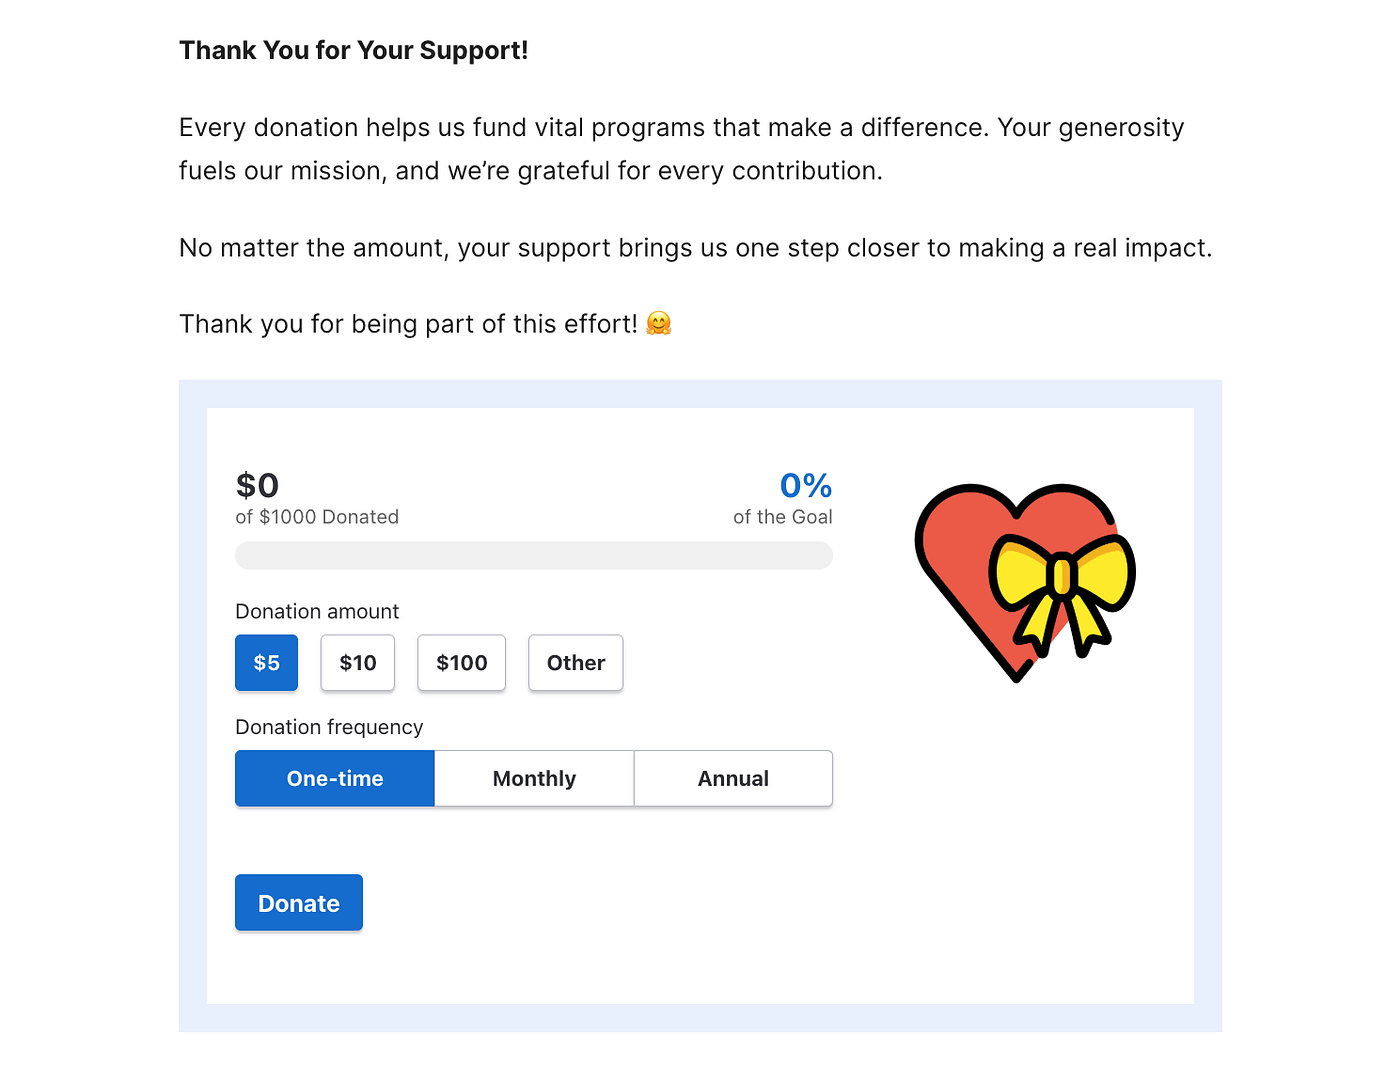
Howver, with a few minutes of labor within the block editor, you may make it look so much higher. For Instance:
Make your transfer!
On this publish, I’ve walked you thru the fundamentals of organising a donation kind in wordpress. We have gone by means of the fundamental options of the wp full pay plugin, the stripe integration, and learn how to arrange your first kind.
I encourage you to spend some additional within the plugin’s interface to studying all the opposite issues that may do for you – significantly if in case you have need to begin promoting services or products.
Final however not least, bear in mind to check out your kind and ensure issues which might be working Correctly earlier than You Begin Publicizing It Amongst Your Followers and Supporters!
Let me know if in case you have any questions in regards to the course of or this complete integration.

Free Information
4 Important Steps to Velocity Up Your WordPress Web site
Comply with the easy step in our 4-part mini sequence and cut back your loading time by 50-80%. 🚀
Yay! 🎉 You made it to the tip of the article!
Hyperlink: https://themeisle.com/weblog/accept-donations-on-wordpress/